


I found a spiffy little dresser via our local online classifieds. It was sturdy, and just the right size to make a nice video storage/TV stand for my daughter. -- It was brown and a little dated, but we liked the details and saw potential. She wanted it black. -- That being said I was just a little too eager to start the project and forgot to take a really good "before" photo. Here are the drawers and the body of the dresser while still brown.


I took all the handles/hardware off the drawers before I began. All the pieces (and the dresser) got a bath in TSP water. If you don't know about TSP it is a cleaning product made to cut dirt and grease. My son has a good friend who restores vintage cars for a living and he directed me to this product. (Use it with care... It is tri-sodium-phosophate, the additive they have taken OUT of dishwasher soap.) I use the powdered kind that can be mixed with water. It's easy to store and I can dilute it or make it stronger as the situation warrants.

I washed the dresser prior to priming and soaked the handles and knobs for 10 minutes or so and then gave them a once over with a rag, a good rinse, and let them air dry before I changed them from that vintage-y gold to satin nickel. Also, the backplates that were original were ugly, Ugly, UGLY for our new look so my husband quickly removed them with a pair of needle-nose pliers.


Now for a little side note. Since I teach school I have myself convinced I need a little gift each summer. Something fun because I work so hard all year long.... This summer it was a nifty little paint sprayer. If you look carefully you can see the box in the background of the photo above. It's a Graco TrueCoat.

It was fun to use, easy to set up and clean up, and it took a LOT of paint. Altogether I used 2 quarts to paint the dresser. One of the selling features is the ability of this sprayer to use regular latex paint straight from the can, and then the easy soap and water clean up. It proved to be true. :)
Now, since it was my first time using such a device I'm pretty sure that the amount of paint required will diminish as I improve. Also, the whole back of the dresser was painted first as "practice." I thought it would only take one quart and used one we had on-hand. Sadly, it had no tag with the color recipe, so when I needed another quart, I had to guess what color was close.
Now, I know about color matching, but I was at the store without the swatch I'd painted to match. I knew it was black, but I had no idea that there were SO MANY colors of black to choose from! -- I finally just chose one and hoped for the best. Even though the color was not quite the same as the first it worked out well.


This little cutie is already looking more like the desire of my daughter's heart. Interestingly, it took a few days for it to dry all the way. It just felt kind of "tacky." After it dried, I used very fine steel wool and gave it a good rub down. My daughter wasn't after a high shine, and although the paint we used was a semi-gloss the sheen is minimal. One more little sponge bath with a damp rag, the handles and knobs in place, and she's almost ready to move to her new home.
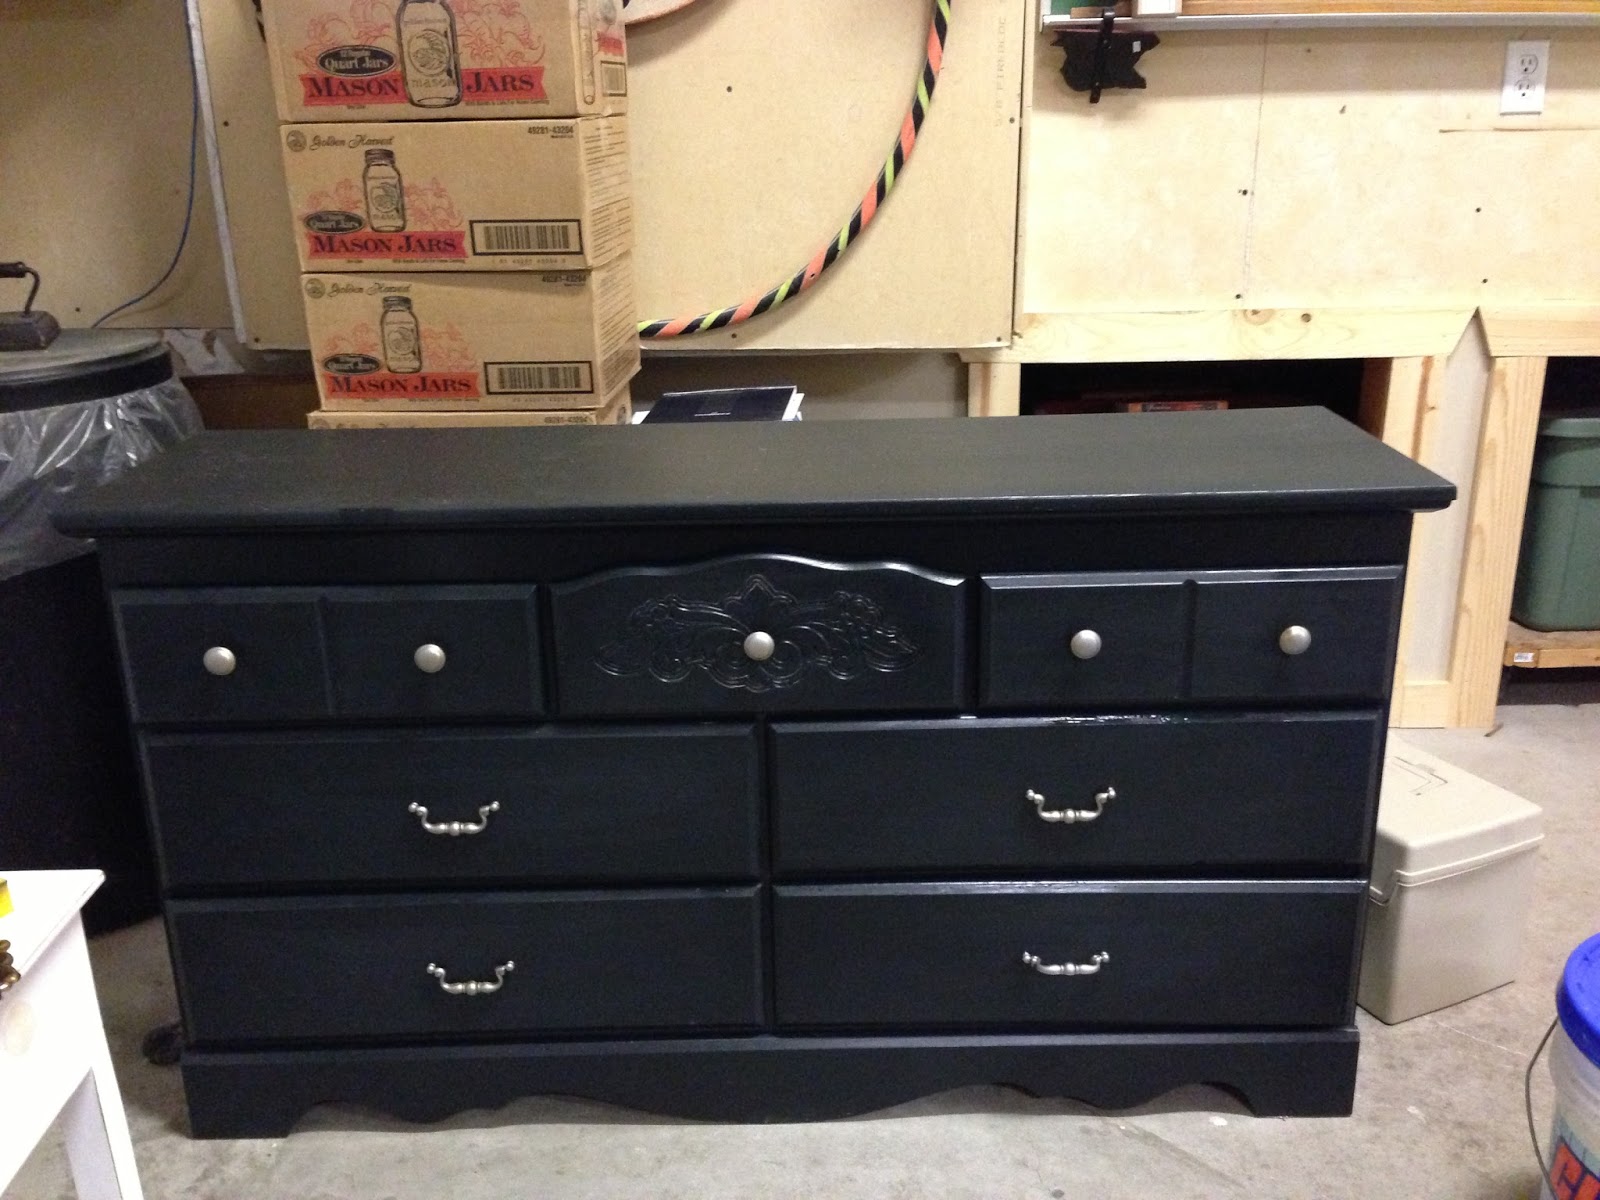
I think she's looking pretty good, even in the garage!


And here she is all tucked in at her new home. My clever husband took the front off the center drawer and added tip out hardware that allows the front of the drawer to lay open flat. The X-Box is hidden till needed this way. The top drawers house remotes and the like, while the 4 bottom drawers hold DVDs. Each drawer holds about 60, so there's plenty of storage.
Summer seems to be flying past all too fast. Hope yours is fun.

